Wednesday, 20 October 2010

Mapping out the face


In preperation for putting the skin on my head i had to use a tool called unwrap UVW. this was done by first selecting every poly other then the ones in my ear, as this will be done differently, and putting on the unwrap UVW modifier and then aligning the box that came up so it completely surrounded the selected polys. after this i put a checker material on the head so i could see any trouble areas which were shown by the checkers being streached. then using the edit button under parameters i brought up the box shown in the screenshot above. i used this box and the relax tool within to isolate the trouble areas and sort out any of the stretched checkers until i had a nice smooth mesh surrounding all of the head like so:

Tuesday, 19 October 2010

lips and eyes


the eyes and lips are now done. the lips were done by grabbing the edges of the mouth and shift dragging the edges to create more polys this was done a few times so enough polys were created to give definition to the lips with the innermost row going back into the mouth to give the impression of them folding back.
the eyes were done by creating a sphere which was placed in the right position in the head and then moving the vertices's of the eye lids around until they looked right.

Attaching the ear

the next stage was to attach the ear to the head. this was done by first removing the polys on the head that were where the ear was to be placed. then i had to match up the edge vertices's of the ear to the vertices's of the head where the polys had been deleted this was made easier by using the snap function but still took a bit of time when this was done all that was left was to attach then weld the ear vertices's to the head vertices's.

modeling the ear

the ear was modeled in much the same way as the face was first by redrawing out the polys in 3d max then pulling out the vertices's until they match the layout of the ear. once this was done the ear canal and the fold in the top of the ear needed to be made this was done by selecting the edges that were to be affected and using the Chamfer tool to create additional polys which i dragged back and moved about until they looked right.

ear topography

in making the ear getting the topography of it is very important so to get it right i went back into photoshop with the reference pictures and repeated the first steps i made with the face. these were to first map out all the key features of the ear and then using these key features begin to draw in quads making sure they all flow together nicely.

Monday, 18 October 2010

attaching the face to the head


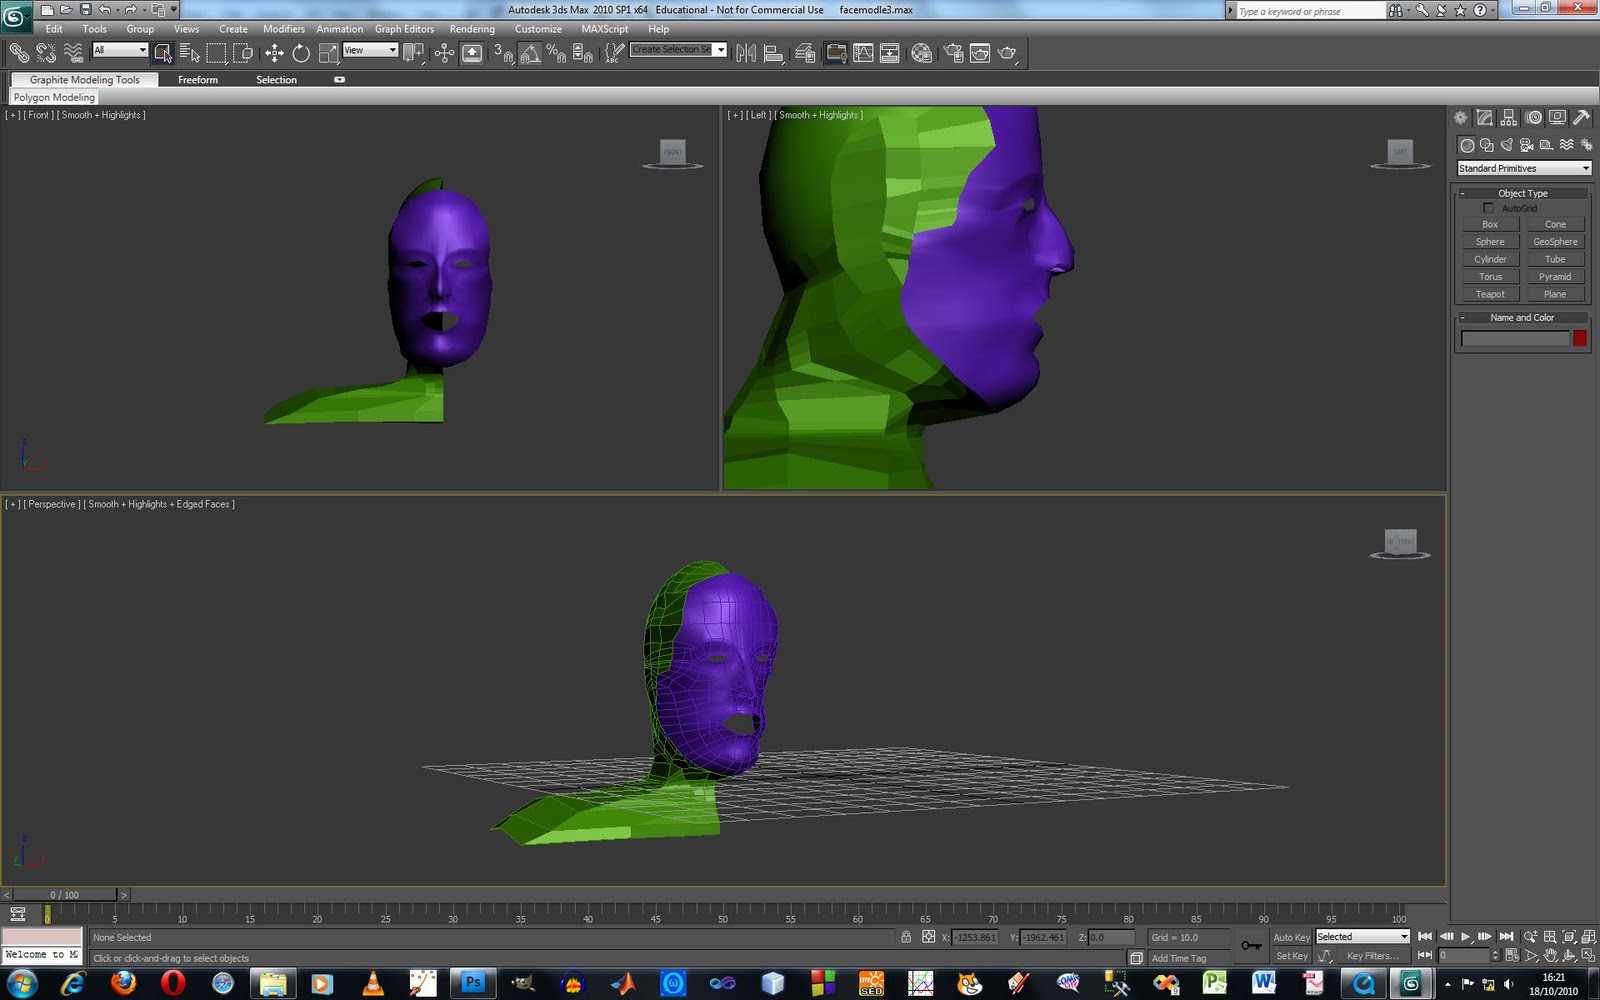
the whole thing is now one shape this was done by first aligning all of the vertices's from the head to the ones on the face adding new polys with the cut tool as needed so they all match up exactly. when this was done i used the attach tool to connect them both and the turbo smooth to see how it looked i then kept putting finishing touches to it trying to make it look a lot neater and kept pulling about the vertices's until i was happy. next will be the lips and ears.

back of the head and shoulders


Ive created the back of my head and my sholders now by first making a sphere which i lined up with the shape of my head and squashed down so it was a similar shape then deleted all the polys i didn't need which were all but the ones going over the top and round to the back of my neck and some round the side of my head.
i used the shape that was left and extruded edges of the polys so they matched the contours of the head. once this was done i then extended it down into my neck and shoulders extruding more and more polys until it had the right sort of shape i then added a turbo smooth to see how it looked and added some refining touches until it looked how i wanted it. this was a long process and I'm still not happy with how it came out and given more time i would of kept going until it was a lot better.